# 18.2:打开相册上传图片
APP 开发过程中,会有上传图片的需求,比如用户设置头像,一般都是打开相册,选择相应图片,然后上传服务器,本节简单讲解一下打开相册和上传服务器的操作。
# 18.2.1:申请权限
访问相册权限属于 user_grant,需要弹窗请求用户授权,因此要先在 module.json5 中配置权限,然后在运行时动态向用户请求权限。
配置权限
在
module.json5中的 module 配置下添加ohos.permission.READ_MEDIA权限,样例如下所示:{ "module": { "name": "entry", // 配置网络权限 "requestPermissions": [ { "name": "ohos.permission.READ_MEDIA", "reason": "$string:module_desc" } ] } }1
2
3
4
5
6
7
8
9
10
11
12请求权限
媒体访问权限属于 user_grant 类型,需要再运行时动态向用户授权,因此需要调用
@ohos.abilityAccessCtrl模块的 requestPermissionsFromUser() 方法向用户授权,样例如下:// 引入相关模块 import common from '@ohos.app.ability.common'; import abilityAccessCtrl from '@ohos.abilityAccessCtrl'; private requestMediaPermission() { let context = getContext(this) as common.UIAbilityContext; let atManager = abilityAccessCtrl.createAtManager(); atManager.requestPermissionsFromUser(context, ["ohos.permission.READ_MEDIA"], (error, result) => { if (result) { console.log("result: " + JSON.stringify(result)); } else { console.log("error: " + JSON.stringify(error)); } }); }1
2
3
4
5
6
7
8
9
10
11
12
13
14
15requestPermissionsFromUser() 方法的回调参数
result是GrantStatus枚举类型,该累定义了两种类型:PERMISSION_DENIED 和 PERMISSION_GRANTED,样例运行后,用户授予权限和拒绝权限的打印日志如下所示:// 已授权 result: {"permissions":["ohos.permission.READ_MEDIA"],"authResults":[0]} // 未授权 result: {"permissions":["ohos.permission.READ_MEDIA"],"authResults":[-1]}1
2
3
4
# 18.2.2:选择相册图片
ArkUI 开发框架在 @ohos.file.picker 库中提供了 PhotoViewPicker 类专门用来打开相册的,该类提供了一个 select() 方法来打开相册,该方法的回调参数里会返回选取的所有图片地址,地址格式是:datashare:///media/image/***,打开相册的过程如下:
引入picker库
import picker from '@ohos.file.picker';1打开相册
// 创建PhotoViewPicker实例,打开相册,调用select()方法
private openGallery() {
  let photoPicker = new picker.PhotoViewPicker();
  photoPicker.select({
    MIMEType: picker.PhotoViewMIMETypes.IMAGE_TYPE, // 只选择图片
    maxSelectNumber: 1                              // 选择图片数量
  }, (error, result) => {
    if (result) {
      result.photoUris.forEach((url) => {
        console.log("url: " + url);
      })
    }
  });
}
1
2
3
4
5
6
7
8
9
10
11
12
13
14openGallery() 方法打开相册调用的是 select() 方法,select() 方法的回调参数 result 中的 photoUris 是一个数组,它是在相册里选取的所有图片地址集合,openGallery() 方法运行后打印日志如下:
JSApp: app Log: path: datashare:///media/image/20038
JSApp: app Log: path: datashare:///media/image/20039
1
2
# 18.2.3:客户端上传图片
笔者在第 12 章 第 3 小节 介绍过文件上传的操作,读者可自行前往阅读,这里就直接复用之前的代码,如下所示:
private uploadImages(paths: string[]) {
  var allFiles = Array<request.File>()
  for (var i = 0; i <paths.length; i++) {
    var path = paths[i]
    console.log("path: " + path)
    allFiles[i] = {
      name: "image" + i + ".jpg",
      filename: "image" + i + ".jpg",
      uri: path,
      type: "image"
    }
  }
  request.upload({
    url: "http://192.168.1.5:8080/java_0101_fileupload_war_exploded/uploadServlet",
    method: "POST",
    files: allFiles,
    header: {},
    data: [
      {
        name: "test",
        value: "value"
      }
    ]
  }, (error, response) => {
    if(response) {
      response.on('progress', (uploadedSize: number, totalSize: number) => {
        console.log("progress, uploadedSize: " + uploadedSize + ", totalSize: " + totalSize)
      })
    } else {
      console.log("upload failure: " + error)
    }
  });
}
2
3
4
5
6
7
8
9
10
11
12
13
14
15
16
17
18
19
20
21
22
23
24
25
26
27
28
29
30
31
32
33
uploadImages() 方法的参数 paths 是打开相册后返回的所选图片路径,考虑到多文件场景,笔者把所有路径都封装在 allFiles 中,最后调用 request 的 upload 方法做文件上传,执行该方法,打印日志如下所示:
JSApp: app Log: progress, uploadedSize: 81920,  totalSize: 342248
JSApp: app Log: progress, uploadedSize: 163840, totalSize: 342248
JSApp: app Log: progress, uploadedSize: 177941, totalSize: 342248
JSApp: app Log: progress, uploadedSize: 259861, totalSize: 342248
JSApp: app Log: progress, uploadedSize: 341781, totalSize: 342248
JSApp: app Log: progress, uploadedSize: 342248, totalSize: 342248
2
3
4
5
6
# 18.2.4:客户端完整样例
客户端选择图片并上传服务器的完整样例如下所示:
import common from '@ohos.app.ability.common';
import abilityAccessCtrl from '@ohos.abilityAccessCtrl';
import bundleManager from '@ohos.bundle.bundleManager';
import picker from '@ohos.file.picker';
import request from '@ohos.request';

@Entry @Component struct Index {

  @State html: string = "权限状态未知";

  build() {
    Column({space: 10}) {
      Button("请求权限")
        .onClick(() => {
          this.openGallery();
        })
      Text(this.html)
    }
    .width('100%')
    .height('100%')
    .padding(10)
  }

  private async openGallery() {
    let context = getContext(this) as common.UIAbilityContext;
    let atManager = abilityAccessCtrl.createAtManager();
    let info = await bundleManager.getBundleInfoForSelf(0);
    if (info && info.appInfo) {
      let result = atManager.verifyAccessTokenSync(info.appInfo.accessTokenId, "ohos.permission.READ_MEDIA");
      if (abilityAccessCtrl.GrantStatus.PERMISSION_GRANTED == result) {
        console.log("has permission")
      }
    } else {
      atManager.requestPermissionsFromUser(context, ["ohos.permission.READ_MEDIA"], (error, result) => {
        if (result) {
          console.log("result: " + JSON.stringify(result));
          if (result.authResults[0] == abilityAccessCtrl.GrantStatus.PERMISSION_GRANTED) {
            // 用户授予权限
            this.html = "用户已经授权";
            this.openGalleryInternal();
          } else {
            // 用户拒绝权限
            this.html = "用户拒绝授权";
            console.log("permission denied")
          }
        } else {
          this.html = "请求授权异常:" + JSON.stringify(error);
          console.log("error: " + JSON.stringify(error));
        }
      });
    }
  }

  private openGalleryInternal() {
    let photoPicker = new picker.PhotoViewPicker();
    photoPicker.select({
      MIMEType: picker.PhotoViewMIMETypes.IMAGE_TYPE,
      maxSelectNumber: 1
    }, (error, result) => {
      if (result) {
        this.uploadImage(result.photoUris);
        result.photoUris.forEach((url) => {
          console.log("url: " + url);
        })
      }
    });
  }

  private uploadImage(paths: string[]) {
    var allFiles = Array<request.File>()
    for (var i = 0; i <paths.length; i++) {
      var path = paths[i]
      console.log("path: " + path)
      allFiles[i] = {
        name: "image" + i + ".jpg",
        filename: "image" + i + ".jpg",
        uri: path,
        type: "image"
      }
    }
    request.uploadFile(getContext(this), {
      url: "http://192.168.1.5:8080/java_0101_fileupload_war_exploded/uploadServlet",
      method: "POST",
      files: allFiles,
      header: {},
      data: [
        {
          name: "test",
          value: "value"
        }
      ]
    }, (error, response) => {
      if(response) {
        response.on('progress', (uploadedSize: number, totalSize: number) => {
          console.log("progress, uploadedSize: " + uploadedSize + ", totalSize: " + totalSize)
        })
      } else {
        console.log("upload failure: " + error)
      }
    });
  }
}
2
3
4
5
6
7
8
9
10
11
12
13
14
15
16
17
18
19
20
21
22
23
24
25
26
27
28
29
30
31
32
33
34
35
36
37
38
39
40
41
42
43
44
45
46
47
48
49
50
51
52
53
54
55
56
57
58
59
60
61
62
63
64
65
66
67
68
69
70
71
72
73
74
75
76
77
78
79
80
81
82
83
84
85
86
87
88
89
90
91
92
93
94
95
96
97
98
99
100
101
102
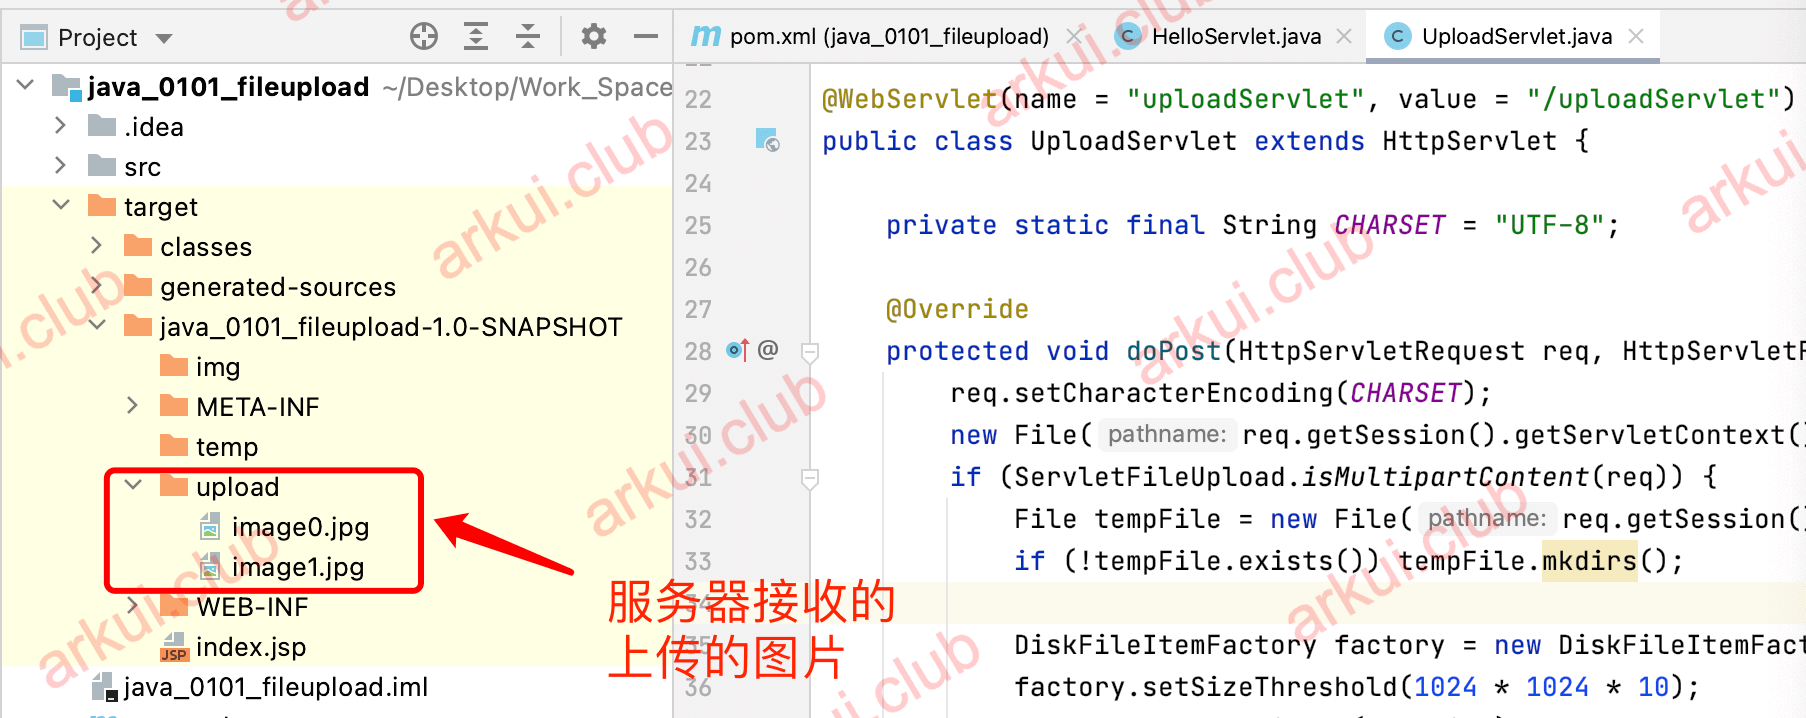
# 18.2.5:服务器接收图片
服务器接收客户端的数据,笔者为了简单演示,使用了 Servlet + fileupload 的方式,服务端样例代码如下:
@WebServlet(name = "uploadServlet", value = "/uploadServlet")
public class UploadServlet extends HttpServlet {

    private static final String CHARSET = "UTF-8";

    @Override
    protected void doPost(HttpServletRequest req, HttpServletResponse resp) throws ServletException, IOException {
        req.setCharacterEncoding(CHARSET);
        if (ServletFileUpload.isMultipartContent(req)) {
            File tempFile = new File(req.getSession().getServletContext().getRealPath("/") + "temp");
            if (!tempFile.exists()) tempFile.mkdirs();

            DiskFileItemFactory factory = new DiskFileItemFactory();
            factory.setSizeThreshold(1024 * 1024 * 10);
            factory.setRepository(tempFile);

            ServletFileUpload upload = new ServletFileUpload(factory);
            upload.setHeaderEncoding(CHARSET);

            File uploadFile = new File(req.getSession().getServletContext().getRealPath("/") + "upload");
            if (!uploadFile.exists()) uploadFile.mkdirs();

            try {
                List<FileItem> fileItems =  upload.parseRequest(req);
                for (FileItem item : fileItems) {
                    if (item.isFormField()) {
                        String name = item.getFieldName();
                        String value = item.getString(CHARSET);
                        System.out.println("name: " + name + ", value: " + value);
                    } else {
                        String fileName = item.getName();
                        File file = new File(uploadFile, fileName);
                        item.write(file);
                        System.out.println(fileName + ", file length: " + file.length());
                    }
                }
            } catch (Exception e) {
                e.printStackTrace();
            }
        }

        // doResponse(req, resp);
    }
}
2
3
4
5
6
7
8
9
10
11
12
13
14
15
16
17
18
19
20
21
22
23
24
25
26
27
28
29
30
31
32
33
34
35
36
37
38
39
40
41
42
43
44
客户端点击上传图片后,服务器端接收到请求,打印日志如下:
name: test, value: value
image0.jpg, file length: 177941
image1.jpg, file length: 164308
2
3
然后在服务器相应工程目录下的 upload 文件夹中就可以看到我们上传的文件了,截图如下所示:
# 18.2.6:小结
以上就是笔者讲述的打开相册上传图片的完整样例供读者参考,也非常欢迎读者给本网站提供更多的开发样例。
← 18.1:性能优化 18.3:沉浸式设置 →